So, what is Zapier?
Ever feel like you’re just overloaded with the number of applications you use for work? Calendars, slack messaging, task management apps, email, dropbox, spreadsheets, and so on…

What’s worse, sometimes people use different apps to interact with you!
Joe from accounting uses slack…
Sally from Marketing adds pointless meetings to your calendar…
your boss wants an answer to that email she sent you yesterday…
and you’re somehow supposed to keep it all organized in a To-do list that you haven’t looked at in three weeks!
*Me sometimes…
It’s no wonder Zapier is one of the fastest growing tools on the internet!
Zapier is a software that makes completely unrelated web based applications, like dropbox and slack, work together seamlessly and effortlessly (including Excel).
What are some things Zapier can do?
You can automatically backup your email attachments to a Dropbox folder: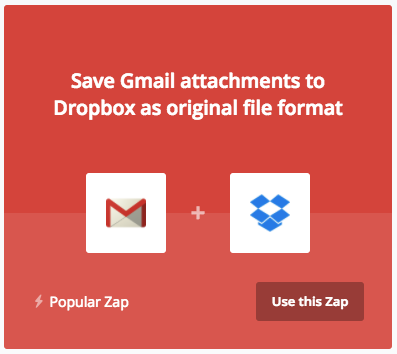
Or you can automatically set calendar events for your tasks on Todoist (or vice-versa):

The best part of Zapier is you can integrate Google Sheets and/or Excel into other popular apps!
Need to email a list of email addresses you keep in Sheets? No problem!
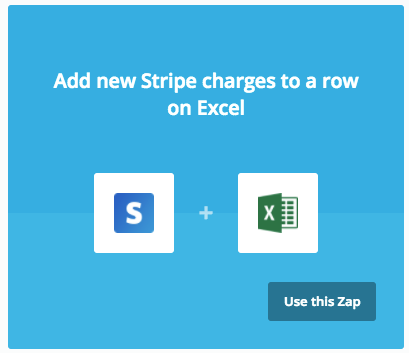
Or maybe you need to analyze incoming credit card deposits in Excel? Easy peasy!

There is an endless number of things you can do with Zapier.
Truth is, when I first discovered this app I was a bit skeptical. I wasn’t sure how well these apps would work together; reliability of using so many APIs at once may be spotty at best, and Zapier interacts with hundreds of them. I began experimenting with different apps and, of course, Google sheets. Once I realized how powerful Zapier can be, ideas of how to save hours of time at work began racing through my head.
How can I use this tool to synchronize my emails with my task management app?
What kind of analysis can I perform if I had a log of customer emails in Google Sheets?
The fun is just beginning…
How I created an Email Queue Workflow for my team
Most people (myself included) use email as a means of communication / task list management / funny picture forwarding hodge-podge-frankenstein-monster that quickly spirals out of control as time passes. The common quote “there’s a method to my madness” becomes an easy way to justify why people’s inbox looks like the aftermath of a zombie herd on The Walking Dead.
At my company, our billing and collections team gets questions and requests from internal and external parties filtered into a shared email address where multiple people go in and fulfill these requests. It’s easy for some emails to fall through the cracks in such an uncontrolled environment… and that’s where the problem lies.
The team spends time trying to figure out who has responded to which emails and which ones haven’t been addressed. I’d estimate it takes up about 5 – 10 % of their time.
I wanted a way to create an Email queue in Google Sheets (for the easy collaborative features it offers) to better organize everyone’s efforts and streamline all communication, but I needed a filtering process in place because I didn’t want all emails to make their way to the queue (otherwise I’m just moving the problem from one medium to another).
I found just the right “Zap” for this:
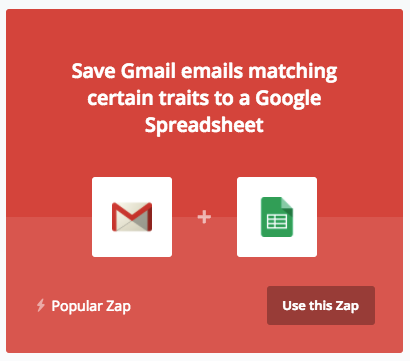
I’ll show you how to I created my own custom Zap to create my email queue:
Step 1: Go into your dashboard and select “Make a Zap!”

Step 2: Choose Your “Trigger App”
The trigger app is the app that triggers your Zap to take action on your behalf. For our example, I’ll use Gmail:
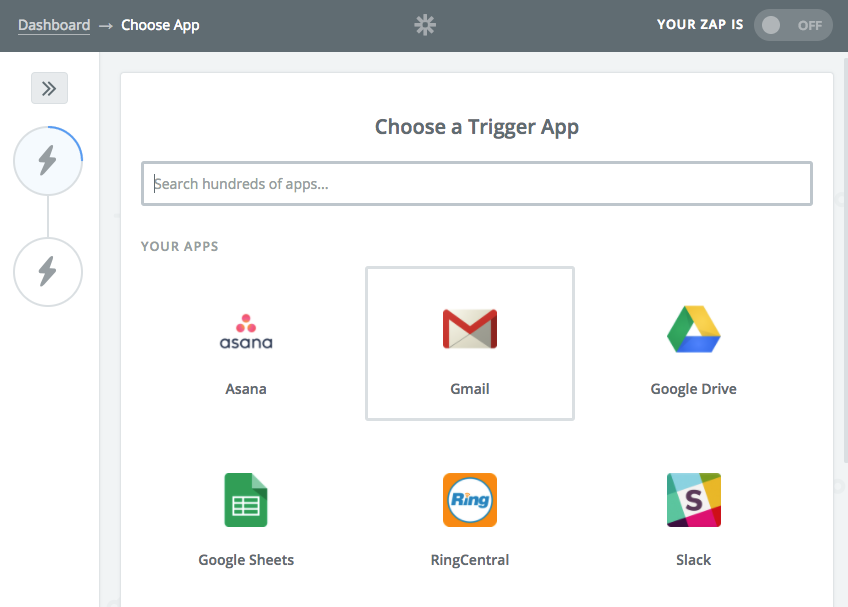
Step 3: Select a “Gmail Trigger”
Here you will select which event in Gmail will trigger the execution of your Zap. You can choose some popular suggestions, or you can search for one:
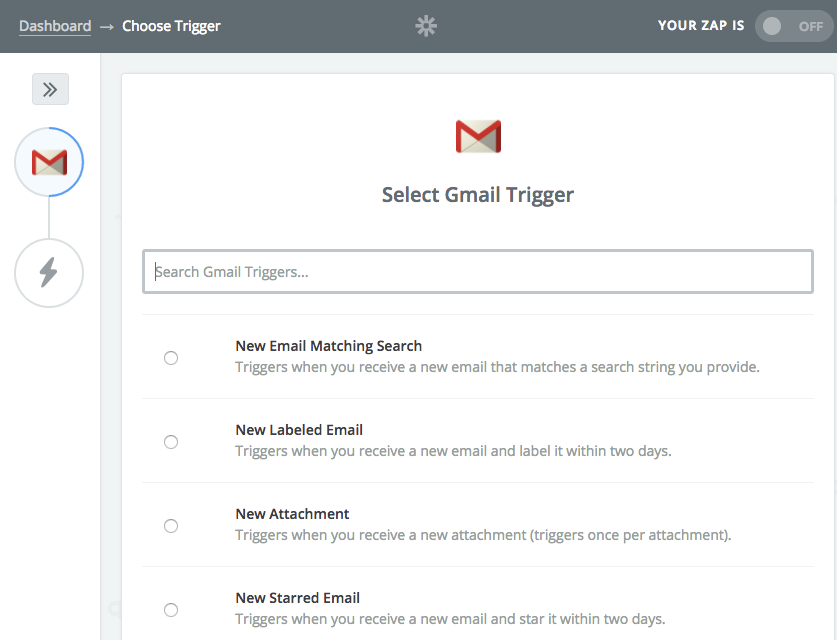
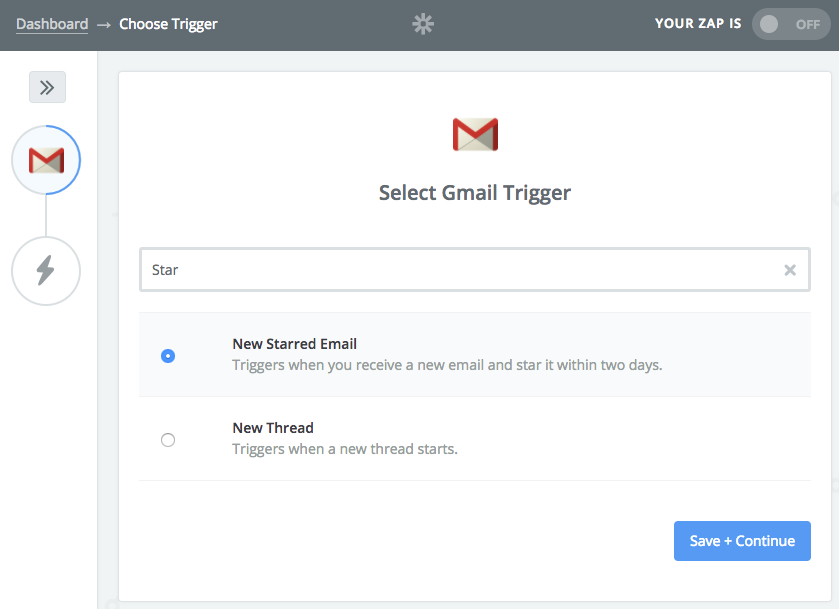
I only want starred emails to go to the email queue in Google Sheets, so I’ll search for this trigger:
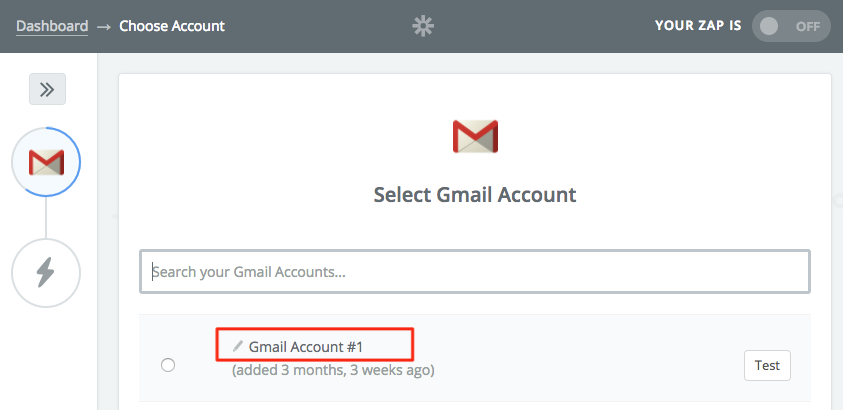
Step 4: Choose a Gmail Account
You can have multiple Gmail accounts connected to one Zapier account, so if you manage a team of people you can implement different Zaps for each person:
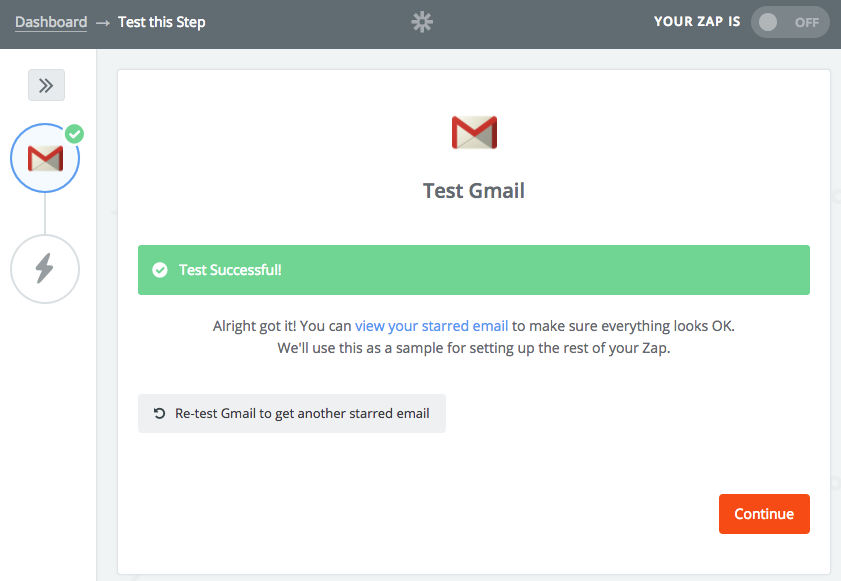
Zapier will then test the connection to make sure it can access your account:
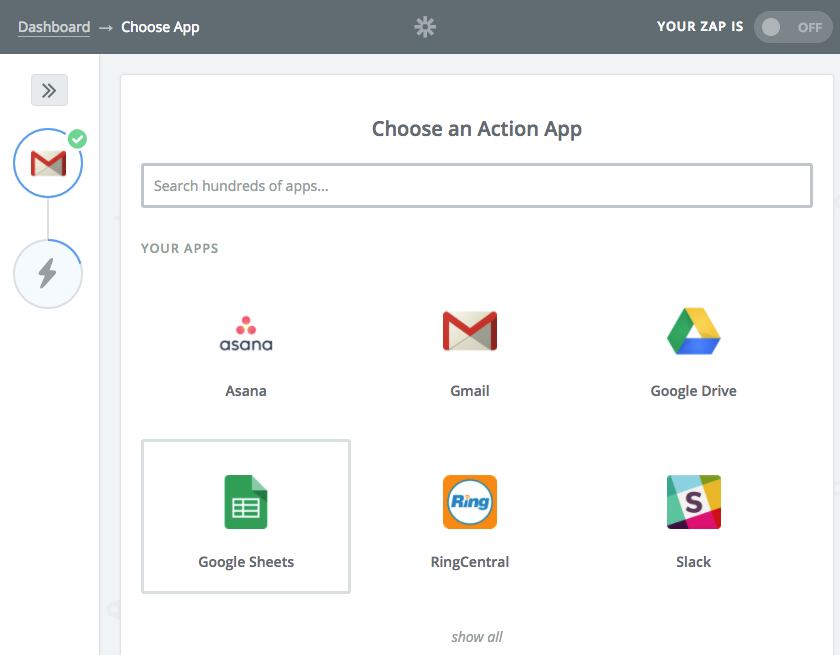
Step 5: Choose an action app
In this step, you select which app will execute the action once the Gmail trigger fires (in our case, a starred email):
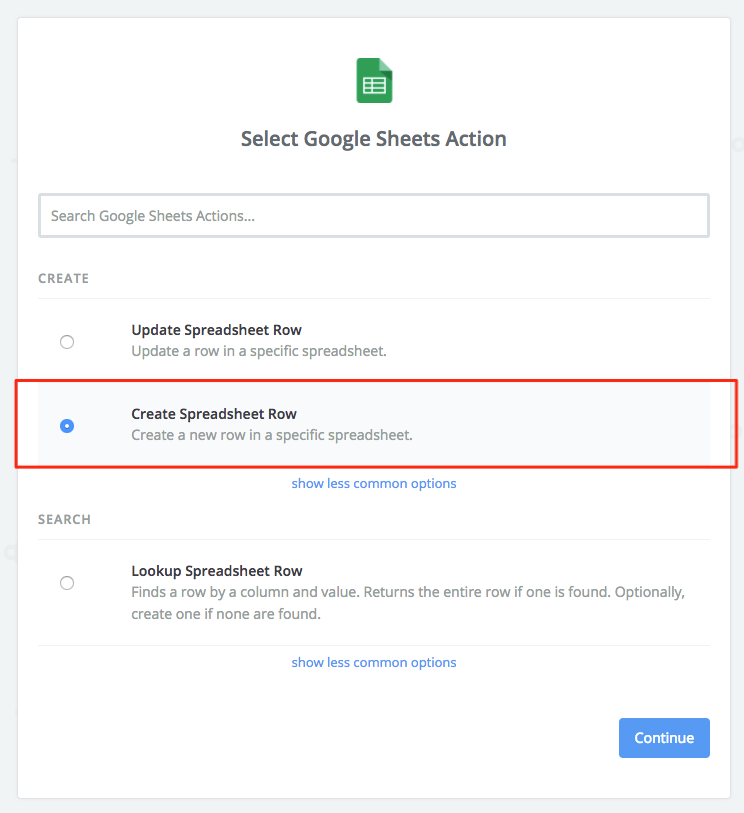
Step 6: Select a Google Sheets Action
You can update an existing spreadsheet row, you can create a new spreadsheet row, or you can even lookup and pull a value from a spreadsheet (useful when you want to send data from your sheet to other apps like emailing a customer or send an calendar invite).
For now we’ll choose “Create a spreadsheet row”
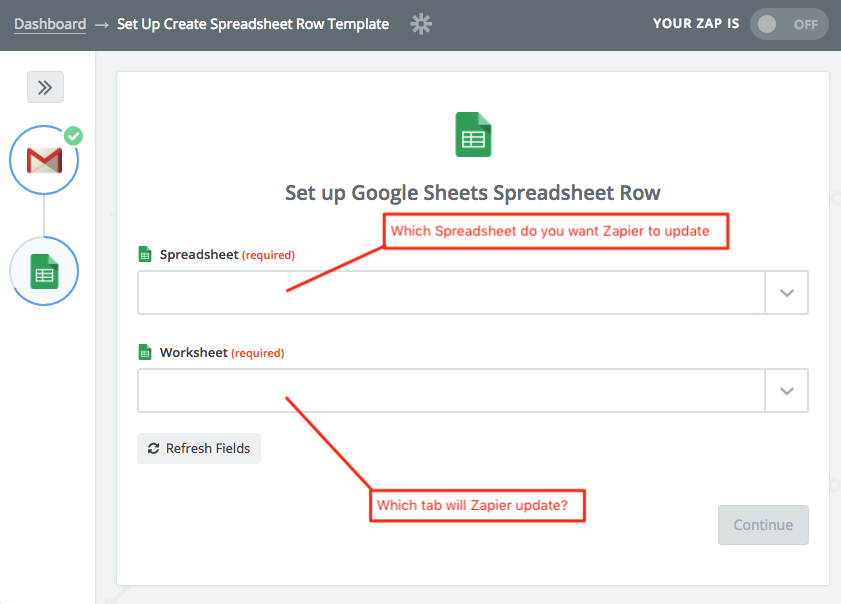
Step 7: Choose the spreadsheet and columns to be updated
Here, Zapier will pull the spreadsheet names you have saved in your Google Drive account. You can also search by name and find the sheet you’re looking for.
One thing you should note: Not only must the sheet already exist (duh!) but you must already have column headers on your sheet. If there aren’t any column headers in the sheet you’re using, Zapier will return an error.
Once you add your sheet, Zapier will automatically pull it’s column headers and ask you to map those headers with the available data points from Gmail:

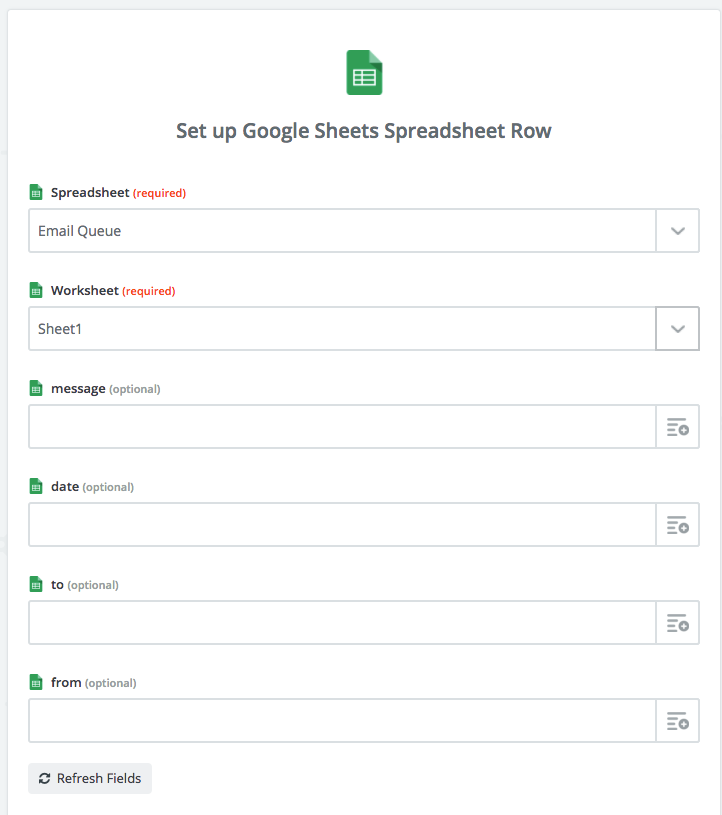

Continue mapping your spreadsheet columns
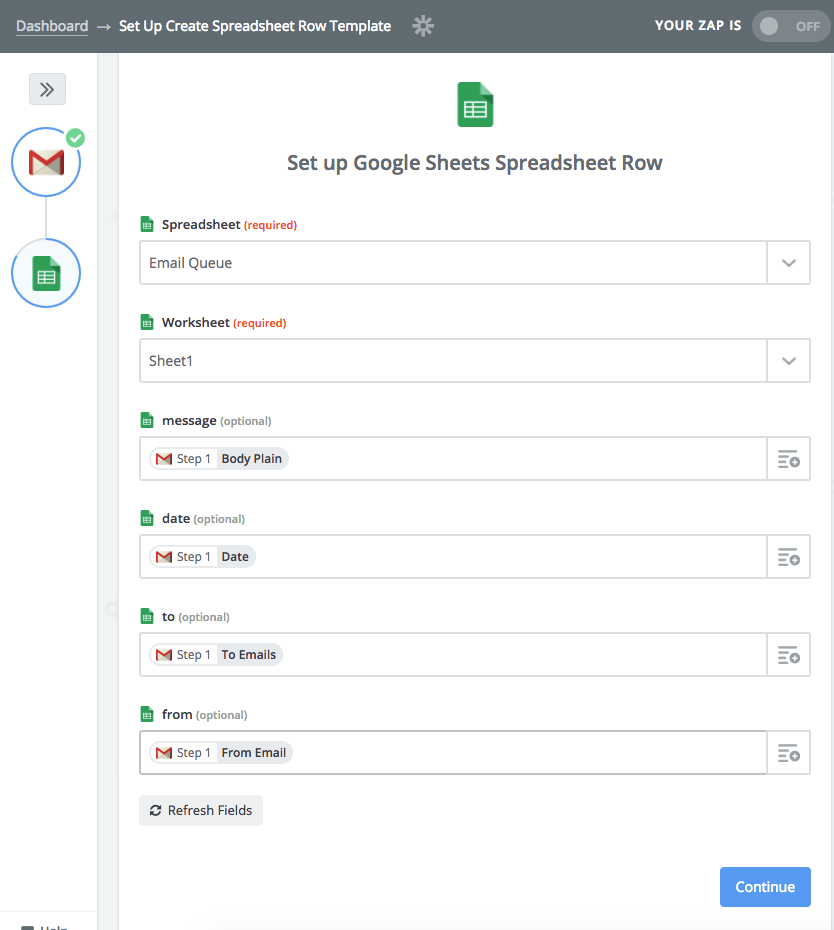
Zapier will now test the connection to Google Sheets and make sure everything is working properly.
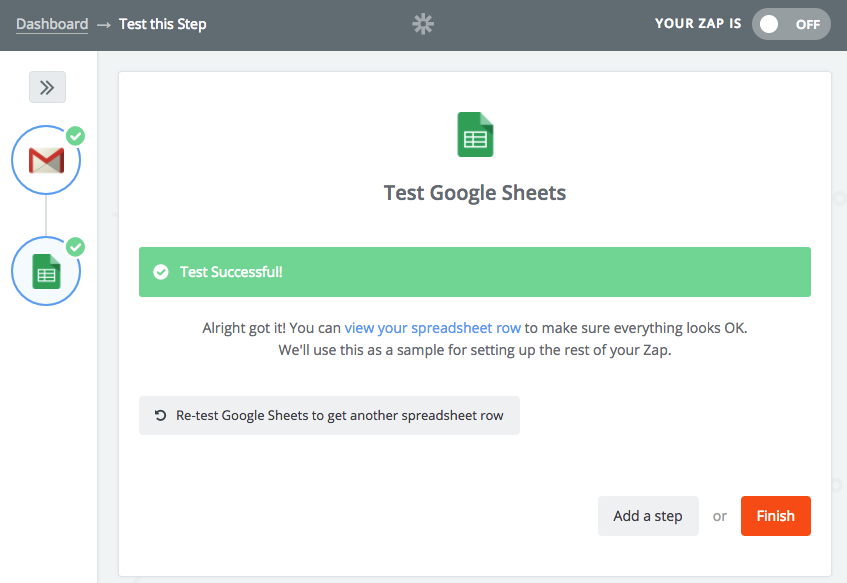
Final Step: Name your Zap and turn it on!

Now any starred emails are pushed over to my Email Queue spreadsheet, ready to be taken care of by anyone on the billing team, in an organized manner.
From here I can streamline even further. What happens if an email needs follow-up or requires someone to take action, but at a later time?
I can have Zapier trigger an Asana task with a due date based on a user entry on the Sheet. I can do it in less than 5 minutes!
How to trigger a task in Asana from Google Sheets
Step 1 :Select “Make a Zap” and choose Google Sheets as your Trigger App
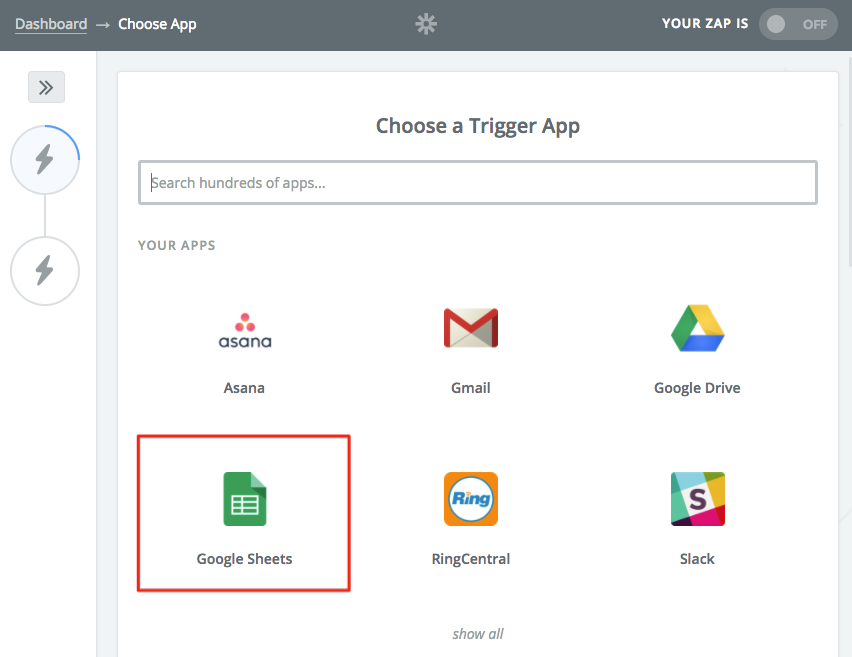
Step 2: Choose “Update Spreadsheet Row” as your trigger

Step 3: Find your Spreadsheet and select the trigger columns
Since I want the Asana task to trigger only if someone enters a due date on the Email Queue sheet, I’ll make this column the trigger column.

S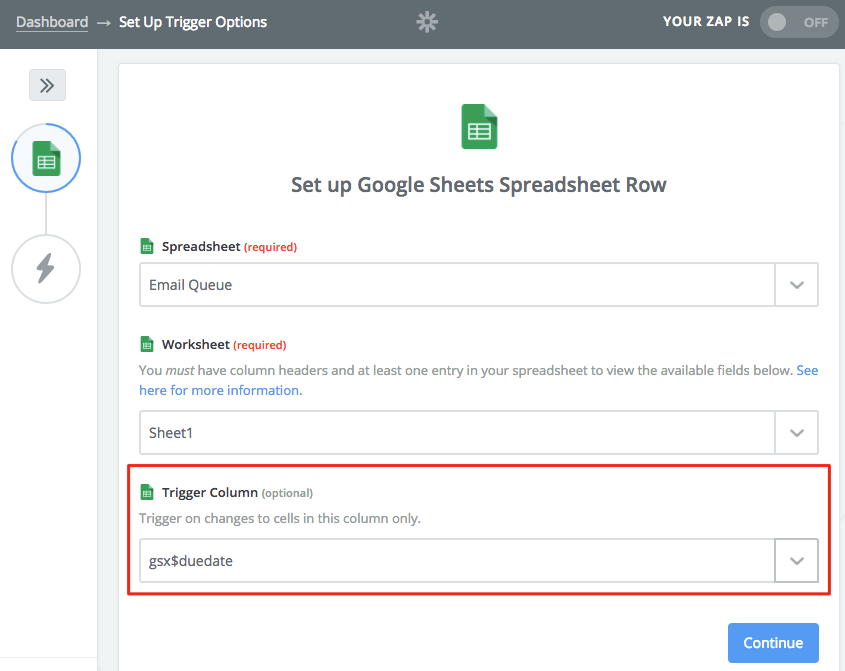
Step 4: Select Asana as your “Action App”
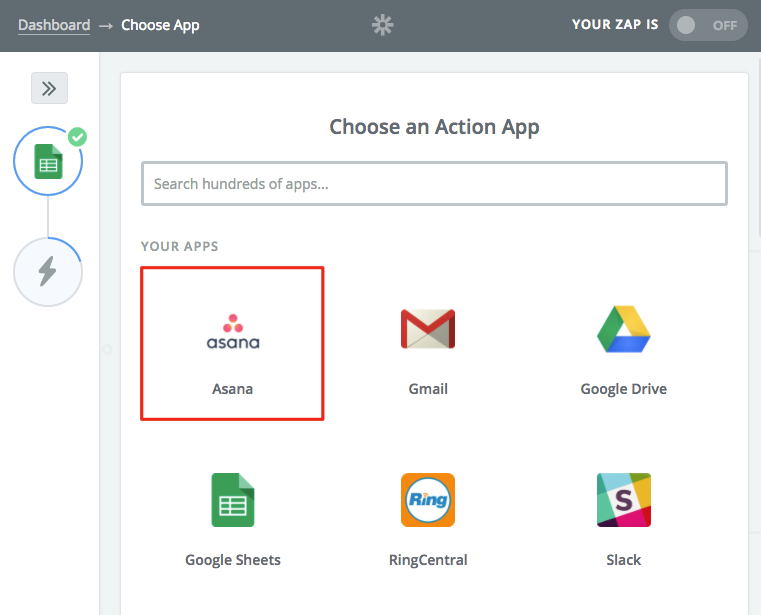
Step 5: Select “Create Task” as your Asana Action

Step 6: Configure the connection to Asana from Zapier
Zapier will ask for things like the Project name or workspace you want to add the task to, the name of your task, due date (or time), and so on. You can map any of these fields from your asana project or data coming from Google Sheets:
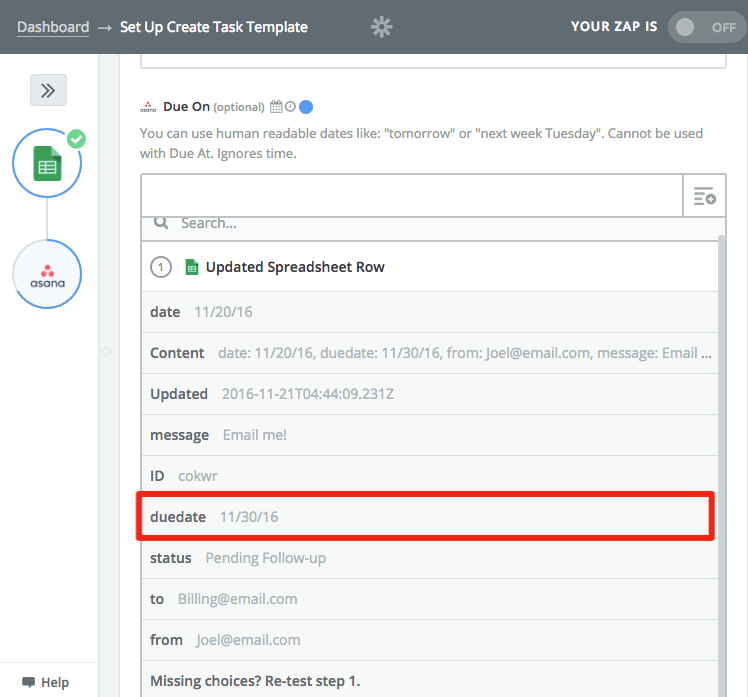
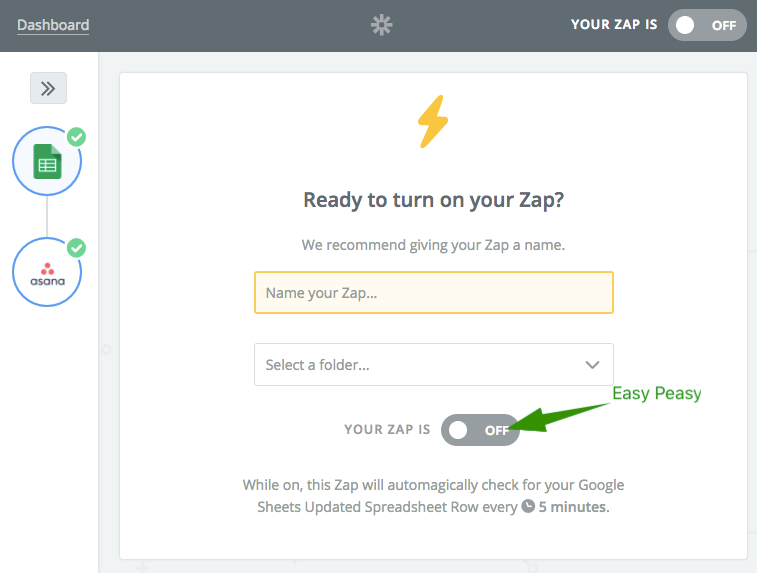
Step 7: Name your new Zap and turn it on!
There a hundreds of other things you can do with Zapier to streamline your own workflows. I was able to decrease my team’s response times by 30% and create hours of efficiency with this simple tweak.
Do you use Zapier? What can you do to save yourself time and energy?

